Disclosure: Some links in this post are affiliate links. If you sign up, PickGearLab may earn a commission at no extra cost to you. We only recommend tools we actually use.
Before I automated my client onboarding, bringing on a new client took about 6 hours of admin work spread over a week. Contracts, welcome packs, briefing documents, project setup, introduction emails.
Now it takes me under 2 hours, and most of that is the personal call.
What “onboarding” actually includes
- Proposal / scope of work
- Contract (review + signature)
- Invoice + payment setup
- Welcome email with next steps
- Briefing questionnaire
- Project setup (task management, shared folder, calendar invite)
- Kick-off call prep
That’s 7 separate tasks. Here’s how I’ve automated 5 of them.
Step 1: Proposal template with AI customisation
I have a master proposal template in Notion. When I win a new client, I paste the relevant details into Claude with this prompt:
Using this template [paste template], write a customized proposal for [CLIENT NAME] at [COMPANY]. Their problem: [PROBLEM]. My proposed solution: [SOLUTION]. Timeline: [TIMELINE]. Investment: [PRICE]. Tone: confident, professional, concise. No filler sentences.
Claude fills in the specifics and adapts the language to the client’s industry. What used to take 45 minutes takes 10.
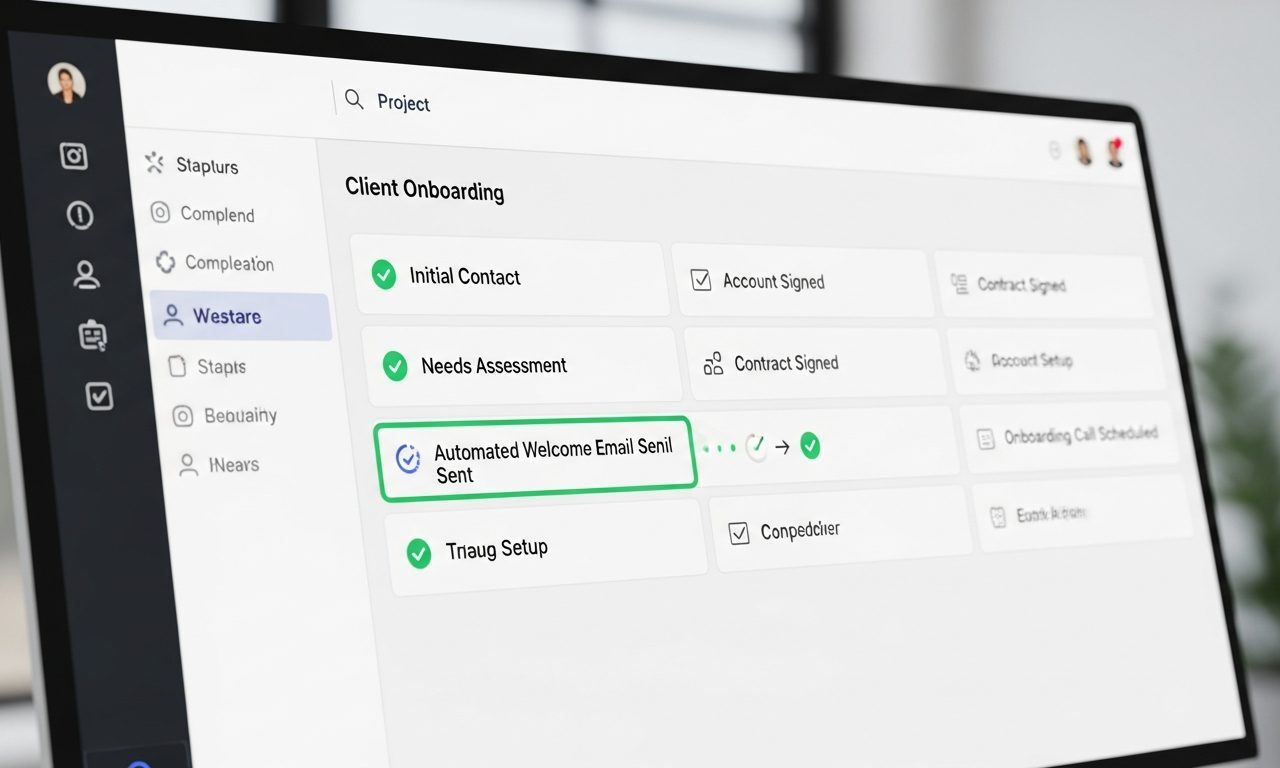
Step 2: Automated welcome email sequence via Kit
Every new client gets added to a “New Client” tag in Kit (ConvertKit). This triggers a 3-email sequence automatically:
- Email 1 (immediate): Welcome + what to expect + link to briefing questionnaire
- Email 2 (Day 2): “Here’s the project folder + how to reach me + our kick-off call is confirmed”
- Email 3 (Day 7): “Here’s what I’m working on this week + first progress update”
Written once, runs forever. Clients consistently mention how organized the onboarding feels.

Step 3: Briefing questionnaire (automated intake)
I use Tally (free) for client intake forms. The form asks: goals, target audience, current pain points, competitors, tone preferences, existing assets. Results go directly into a Notion database.
Claude then takes the completed form and generates a project brief: “Using these client answers, write a 500-word project brief that summarizes: project goal, target audience, key messages, deliverables, success metrics.”
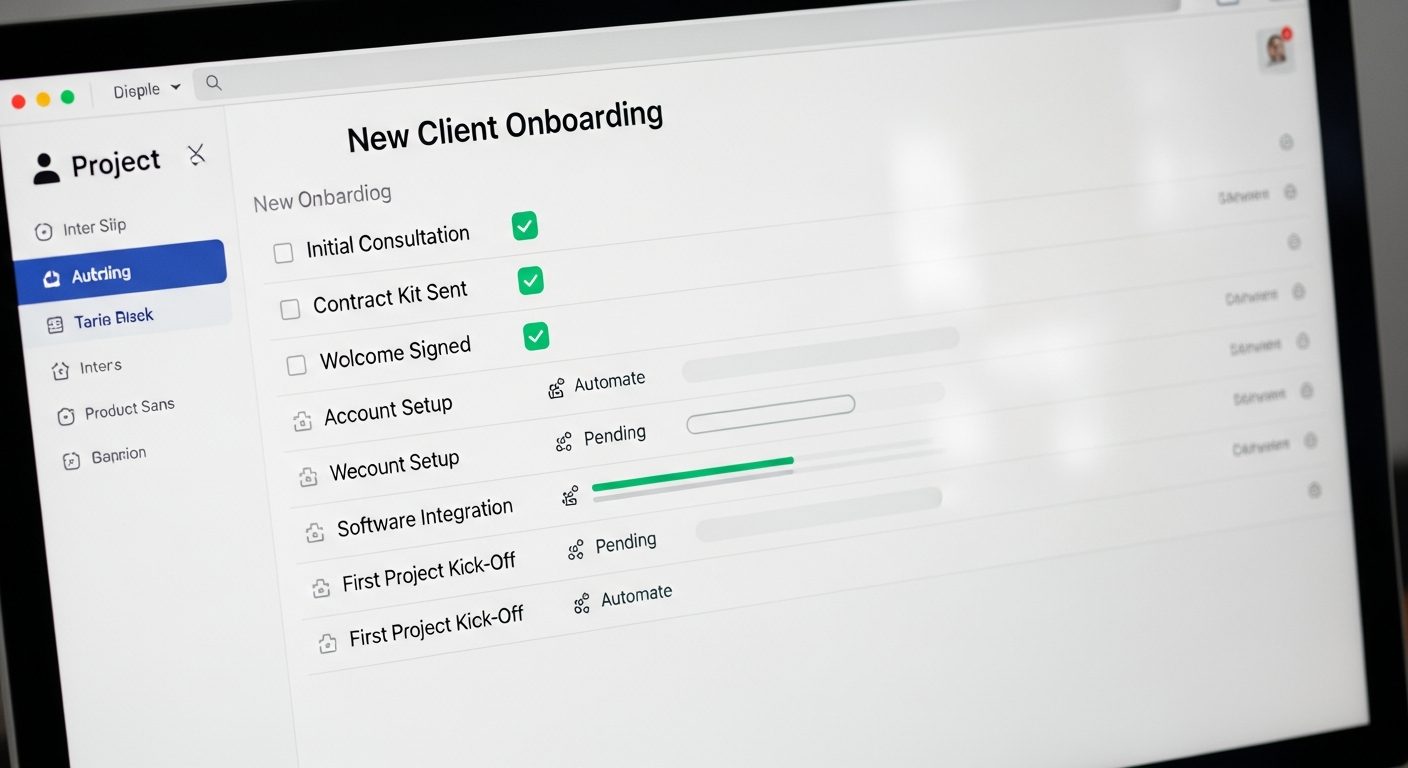
Step 4: Project setup automation
Make.com (free tier) handles the rest:
- Client signs contract in PandaDoc → webhook triggers Make.com
- Make.com creates a Trello board from template, creates a Google Drive folder, sends Slack notification, creates a calendar event for kick-off call
This takes about 2 hours to set up once. After that, it’s fully automatic.
Step 5: Invoice and payment
I use Stripe invoicing. When I add a client to Kit, I also create a Stripe customer and send the invoice. For recurring retainers, the subscription is set up once — billing is completely automatic.
What stays manual (and should)
- The initial call or email that wins the client
- Reviewing the briefing questionnaire answers and customizing the brief
- The actual kick-off call
Automation handles admin. Relationships stay human. That’s the balance.
Related reading
About the author
Shahid Saleem is the founder and editor of PickGearLab. He tests AI tools in the real world — writing, automation, content — and writes up what actually worked. Based in Dubai.
One practical AI tutorial. Every Monday.
Workflows like this one — straight to your inbox. Free. Unsubscribe in one click.
Subscribe free →